But the old problem remained. I still despised...and continue to despise to the point I have not yet started on tomorrow's list...building army lists. It bores and annoys me.
So I decided I wanted to use Galrauch AND my flying D-Prince, so I chose 5K, got Liam and Kev to throw together 2500 points apiece, and off we went.
Now, although the points levels are even, I have a couple advantages in this format and a couple disadvantages.
Advantage one: I have 1250 points to spend on lord-level characters, they have but 625.
Advantage 2: I have a unified force theoretically designed to work with itself. They have two distinct forces not designed to have synergies with each other.
Disadvantage: against just one army, I know how to handle the elite sections of the army. With two separate armies, I will most likely be facing tough, hard-hitting units more spread out than normal.

As the scenario required them to set up first, it allowed me to hastily build my battle plan. I would use Magic, Marauders, Knights and the Shaggoth to fend off the skaven while the bulk of my army dealt with the Bretonnians. I would then swing over those forces, roll up the skaven flank and walk away talking about my greatness....
Alternatively, the larger numbers of skaven forces, combined with their mighty monsters and war machines could roll up my left flank, I could get clogged up in the middle and end up being flanked/assaulted from behind my lines and bemoan my stupidity (as opposed to granting credit to the greatness of Kev and Liam's battle plan...)

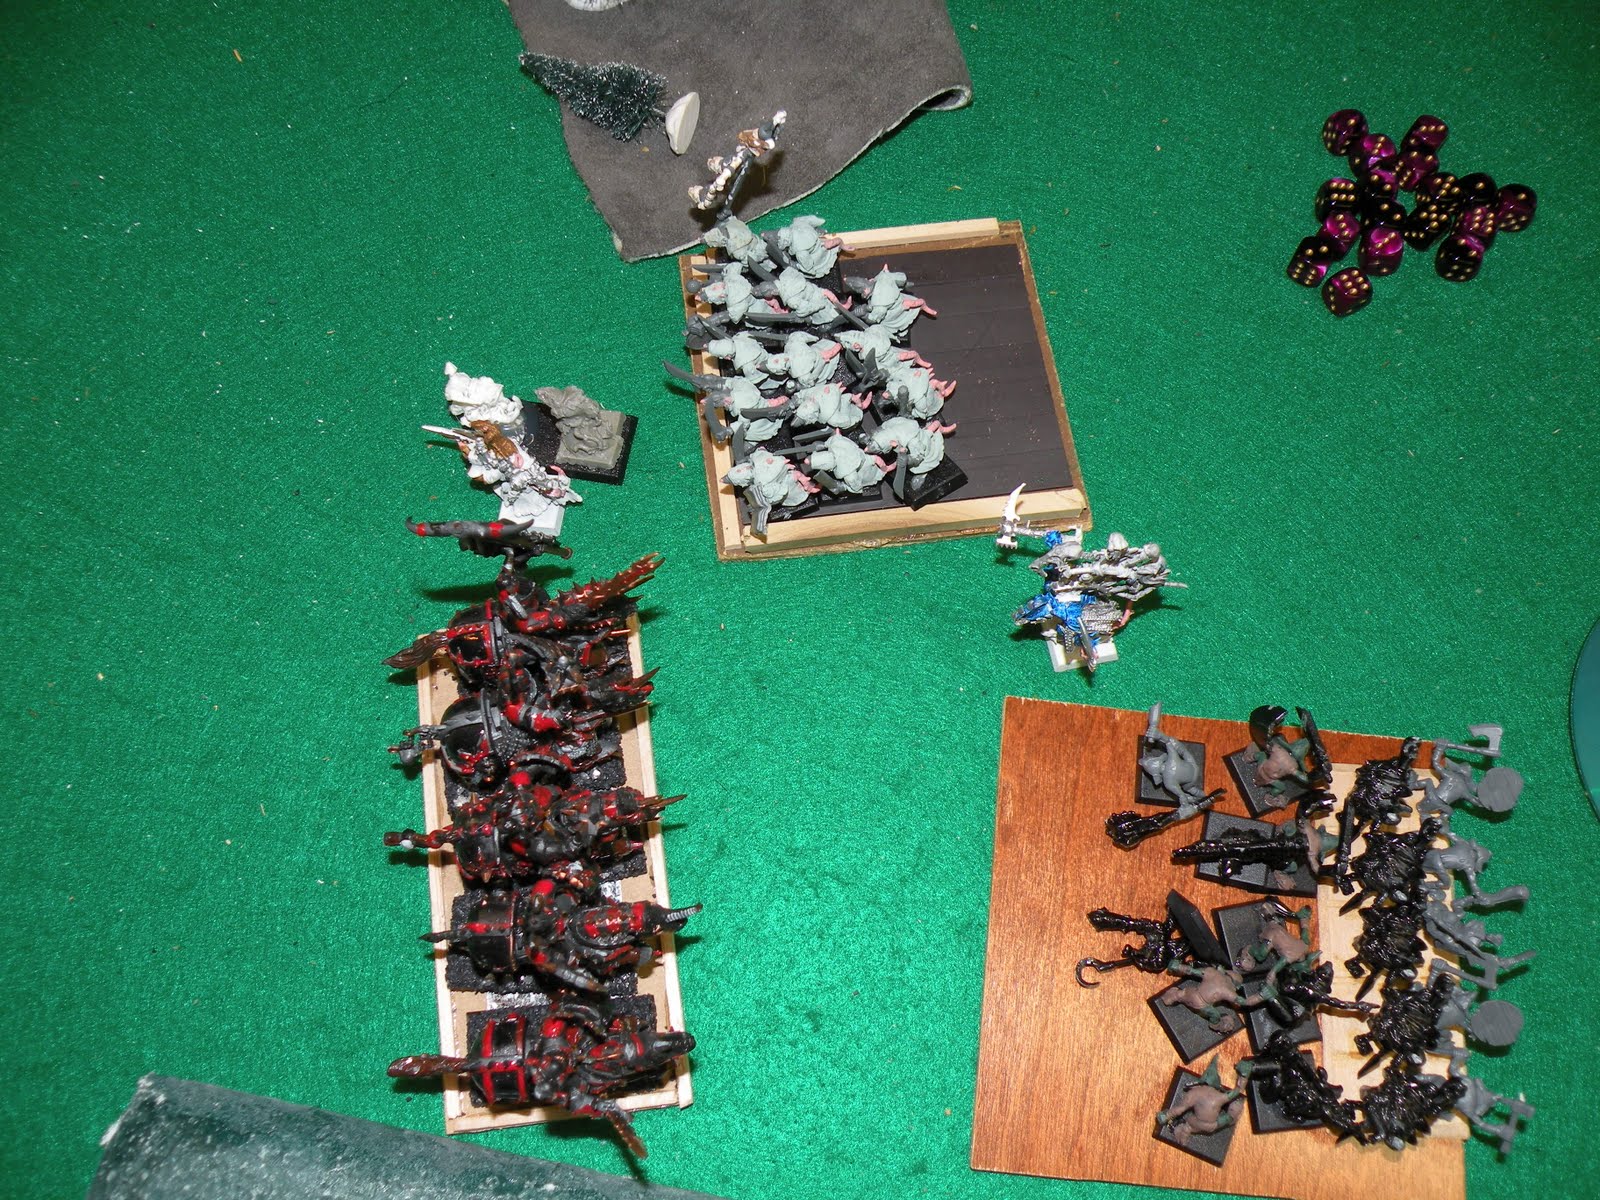
By the way, click on the picture above. Check out his VERY creative h-pit abomination scratch built from bits. Looks like the Loch Ness monster I think.
The brets asked for the blessing, so I got turn 1.
Warriors of Chaos turn 1
On the left I was playing a stalling game, so made at best a modest advance. In the center, I had a trap set up with a small unit of Knights ready to flank any Brets who moved into the middle while my block of 40 (!) Chaos Warriors locked down the middle. My non-fast cavalry Marauder Horsemen would go after the War machines, allowing my big block of Chaos Knights to sweep around and protect the flank of the Warriors.
Seeing his 5 Peasant Men at Arms on horses, I figured the 10 Marauder horsemen with light armor and shield would have an easy time with them and declared the charge. I needed to roll a "6" by rolling 3d6 and choosing the highest two...and promptly rolled a 4. Which meant they moved a whopping 2".
This meant to protect my flanks I had to slow everyone else's advance in the center and my Chaos Knights would be locked into dangerous area, unable to maneuver.
Battle plans are made to alter. One bad roll will not wreck it.
I flew the D-prince up to his right flank with a perfect shot at several units.
For magic, I rolled a "5" and a "1"...meaning I had one more power die than they had...then they channelled 2 additional dispel dice and I scored zero, so they had more Dispel dice than I had power dice.
I put all my eggs in one basket and threw all 6 at the Purple Sun big template. If I got irresistible force, sending that big template through his Knights of the Realm, Grail Knights, peasant bowmen and, if lucky, two trebuchets and several Skaven war machines would be devastating.
Of course, I could also simply fail to achieve the casting value...
On the left, the cannon dropped the template on top of his 5 Jezzails, a weapon I truly fear.
I was fortunate to roll a "hit" so one was under the template and died. The other 4, I just needed a "2" to wound. So I rolled 4d6...and for the second consecutive game, rolled 4 "1"s, slaying zero jezzails.
So the first round was...well..disastrous. I was out of position, did no damage of note, and he was in great shape.
Skaven/Bretonnian Turn 1
His men at arms charged my Marauder horsemen. This was probably a good move in 7th edition...not so much in 8th.
Conversely, seeing my Knights ready to flank him, he did NOT charge my Chaos Warriors with his Knights of the realm. In 7th...probably good idea again as I would have removed his rank bonuses and crushed him on my turn. In 8th...he really needed to get the strength bonus for his lances.

On the other flank there was a general advance.
They channeled a few dice, had about 5 more power dice. I had to use my one scroll to stop his plague spell that would have cost me about 34 marauders had it gone through. That let Liam put regeneration on his peasants.
They also shot down a few Marauders...I fail my first 4 save attempts, all needing 5+.
He manages a wound on my Marauder Horsemen. No problem, But I then unleash the pain and put down all 5 of his men at arms and over-run into the peasants behind.

Warriors of Chaos Turn 2
I have a tough choice. I have a pretty unlikely charge on his Knights of the Realm, a more likely charge on his Grail Knights. If I charge the peasants, I am virtually certain to make it and unleash a huge amount of carnage which should allow me to overrun into their artillery park....but if something goes wrong, I have presented my flank to Grail Knights. This is seldom a good idea...
Shaggy charges his abomination, my Marauder Horde charges...I dunno, skaven clanrats?


Magic goes about the same. I roll a 5 and 1 again. They channel 2, I channel zero. For the second consecutive time, I have fewer power dice than they have dispel. So I go the big Purple Sun rout.
This time it works. Irresistible force. And then...it misfires, lands on my wizard and wounds him, scattering away from their battle lines. Then I roll snake eyes for the miscast and a 2 for Infernal Puppet...fortunately, I am not thrown into the warp, but that was...well...not good.
Time for shooting. After my colossal whiff on turn one, I am expecting good things. I do not get them as the cannon blows up, and I roll a whopping 16" for distance other units are wounded on.
By the time we are done taking wounds from the blow-up I have lost marauders, wounds on Shaggy and a wizard, he has taken a couple on the abomination and a couple clanrats.
A quick points count: I have done 40% wounds to my best wizard, half wounds to another wizard, 33% to my Shaggoth, and killed my own cannon. They have slain I think 4 Marauders at this point...I vote for me as their MVP.
A quick points count: I have done 40% wounds to my best wizard, half wounds to another wizard, 33% to my Shaggoth, and killed my own cannon. They have slain I think 4 Marauders at this point...I vote for me as their MVP.
On the bright side, it also killed 3 Jezzail members, and the other would spend the next 4 (!) turns fleeing off the board....
Well, close combat is the key for the Warriors of Chaos. Forgetting great weapons no longer go first on the charge, I inflict mayhem on his clanrats, slaying 13 of his guys. He attacks back, kills 2...and then rolls Insane Courage.

My Warriors cause 13 wounds to his peasants, he saves 3 with the blessing/regenerate. The Marauders and their horse kill 8 more. I am happy. I have had two epic combats that offset my horrific shooting and magic. I rout him.

I then roll horribly and fail to catch him...but it does move my Marauder horsemen to where it seems like an illegal charge in 8th as his Grail Knights, to hit my juicy Chaos Warriors would have to wheel to get around them, but that wheel would lessen the number of troops he got in combat...so I was perhaps fortunate to have awful pursuit rolls...

Skaven/Bretonnian Turn 2
He charges his plague furnace into my Marauder horde.
He gets off the Skaven plague spell, killing 17 Marauders.
The combat is brutal as I do a number on his clanrats, his Furnace does a number on my Horde, but I win the combat. He is down to ONE clanrat by now...
The combat is brutal as I do a number on his clanrats, his Furnace does a number on my Horde, but I win the combat. He is down to ONE clanrat by now...

Warriors of Chaos Turn 3
the block of 10 Knights has his Doom Wheel in front of it and charges. I again have a spell dice deficit, but get Infernal Gateway off irresistibly, doing a few wounds to a war machine.

(fair warning; about this point I stopped taking notes so...well...who knows what REALLY happened after this..)
The Knights just barely kill the Doom wheel and overrun into some clan rats or plague monks or whatever. My Warriors go after his Knights of the Realm.
His Grail Knights charge my Knight block in the flank...the key moment in the game.
This is his best Knights, bolstered by their general, getting a flank charge (reducing my armor save by one) with S6 hits on my best unit. My Marauder Horde is dying, the Shaggoth is odds on to die to the Abomination, and magic,...well, for the first 4 turns he had more Dispel Dice than I had Power Dice.
But then something happened...he did indeed put down a couple Chaos Knights. But in return I kill all 7 Plague Monks and kill his Battle Standard Bearer. I win the combat and he epically fails his Leadership roll...not a huge shock as his 2 ranks were easily countered by my BSB/War banner/more kills. He flees a whopping 5"...and I pursue a whopping 4".

My Chaos Warriors run his Knights of the Realm.
Shaggy kills the Abomination while having just 1 wound remaining himself. And Kev promptly rolls a 6 to bring it back and gets fully 4 wounds. Uh-oh...

So now we have an interesting situation. On the left flank I have a foot wizard, 5 Knights, and 1 wound remaining on my Shaggoth. He has the Abomination, some skaven clanrats, the plague furnace, and a couple other miscellaneous units.
meanwhile, on the right I have 35ish Chaos Warriors, 8 or 9 Chaos Knights, another unit of 5 knights, a dragon, and D-prince...so we have done the classic Greek maneuver of each shattering the right flank of the other.
From here on it got bloody (as if, you know, the hundreds of casualties already dealt were not...) as there were charges, counter charges, counter/counter charges...

This just in. His Skaven general with something like a bajillion I9 or 10 attacks allowing no armor save is bad, bad jujupe. He tore up a unit of Knights and everything else he touched.

But I overran their artillery park and by the end it was obvious the game was going to be some sort of Chaos victory.

Ironically, I had one epic charge left where I failed a LD test with re-roll to restrain, thus forcing my corny knights (mark of khorne) to make an unfavorable charge on my 6th turn. I dealt out something like 17 casualties...as Fixed Dice pointed out, had I done just 16, he would have passed his test instead of getting overrun.
He paid me back, killing my BSB with magic when I failed my Initiative test which meant my Knights broke instead of being stubborn with a reroll....

He also wiped out everything I had on the left, including his Abomination taking out my Shaggoth and wizard.


So the epic blood bath ended.
Bretonnia was all but wiped out, with only the peasant bowmen hanging out on my left flank alive.
Conversely, almost all the Skaven were alive.
I started the game with 20 Knights and 2 Knight heroes and an exalted hero on juggernaut. At the end of the game I had 2 Knights left of all that...his Abomination withstood my 5 S7 attacks without taking a wound and slew the jugger rider on turn 1 or 2, killed the Shaggoth, and his clanrats did for 10 more Knights. the others fell to Brets and Magic.

Reflections
Wee totaled the points. They scored something like 2300 points, I scored about 3500 or so.
It was great fun. Much of my conjecture was backed up. The "remove casualties from the back rank" rule makes, to me, this game 1000000% better. It meant peasants, clanrats, plague monks, storm vermin were all a real even to my mighty Knights...who did well but took a TON of damage.
Magic was...well, what it often is for me. I spent far more points on it than they did. And I did have some success...which is nice because in 7th, I would have gotten nothing done. I did think it was funny that on 5 of 6 turns they actually had more Dispel Dice than I had power dice...
and awesome that I still managed to get some stuff off.
I think the Horde rule is awesome, though I doubt I would use it in a tournament or competitive situation.
Not so fond of everything being dangerous terrain as it really restricted my movement, and the placing of templates makes them super powerful. Wish they scattered a bit more.
Overall, the game is much more tactical and much more fun now, with a heavy dose of random swings thrown in. Love, love, love it.
